If you're unsure about any of the instructions below please get in contact with us and we'll guide you as best we can.
Aluminium CladdingLightweight and strong
Built to last the test of time
All-in-one cladding solutions
Non-combustible solutionsServicesExpertise, Support, & GuidancePartnerships
Working perfectly together
This is a block of text. Double-click this text to edit it.
Complete systems
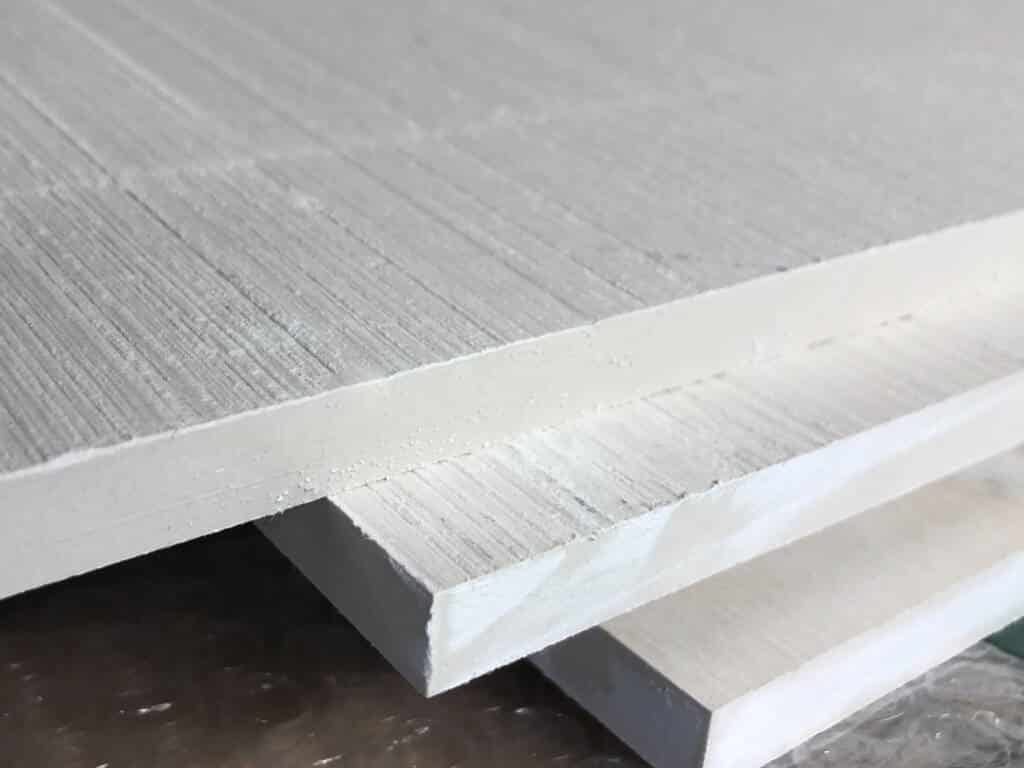
All-in-one Cladding Systems FrontekA1 | Extruded Porcelain Cladding
SolidSafe®
A1 | Aluminium CladdingInstallers:
Join our Installer Partner NetworkFind a Local Installer
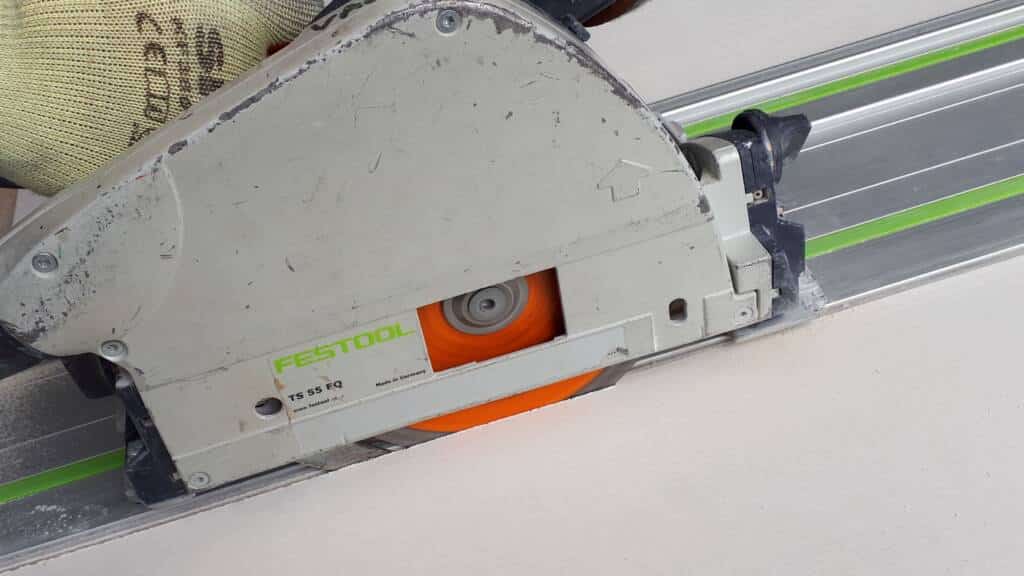
On-site installer checklist
Technical:
BIM Objects / SpecifiyCertification and AccreditationTypical DetailsFire Classification Reports
Breeam Scores
Information & Guides:
Accredited CPD SeminarsProduct BrochuresFabrication GuidanceInsightsStorage & Handling GuidanceMaintenance & Care Insurance Backed Guarantee Warranty Application Form
This is a block of text. Double-click this text to edit it.
Why Valcan?Certification and Accreditation Our Mission, Vision & Values
Support Complete Cladding SystemsCPD Seminars Valcan NewsBrochures
The Facade HUBSustainabilityOrder SamplesContact us
Support Complete Cladding SystemsCPD Seminars Valcan NewsBrochures
The Facade HUBSustainabilityOrder SamplesContact us
This is a block of text. Double-click this text to edit it.